This tutorial walks through the process of sculpting a basic 3d terrain in Maya with the Mesh>Sculpt Geometry Tool, and then the process of creating a 2d greyscale height-map from that object. We will then import that object into L3DT as a design map and run it through the terrain algorithms to generate a detailed height-map that has cliffs, erosion effects, climate-map layouts, and procedural textures applied.
Details are under each image:

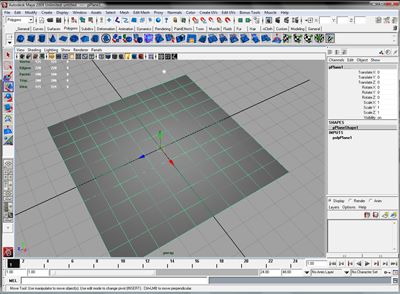
In step one, I have crated a poly plane that is 10 maya units by 10 maya units, and has 10x10 subdivisions. I have also created a point light (and moved it a little to one side), and also turned surfaces and lighting on (this helps in sculpting).

