Details are under each image:

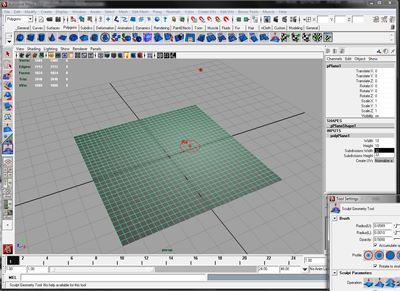
In step one, I have crated a poly plane that is 10 maya units by 10 maya units, and has 10x10 subdivisions. I have also created a point light (and moved it a little to one side), and also turned surfaces and lighting on (this helps in sculpting).
Next, we consider how much detail we want on this surface. I know I will be passing a 1 or 2 level Smooth over my mesh and tweaking it before 'baking' it into a heightmap so we can go with something simple, like 32 x 32. And we're ready to sculpt.
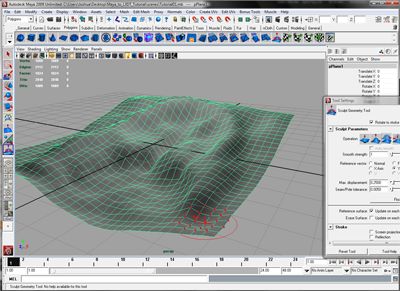
Here I've sculpted a simple bay and a couple of ridges by pushing and pulling verticies on the Y axis (find this in the Sculpt Geometry tool). The key thing with setting the Y-Axis as your reference is that you won't inadvertently have verticies that would 'overlap' if viewed from above.
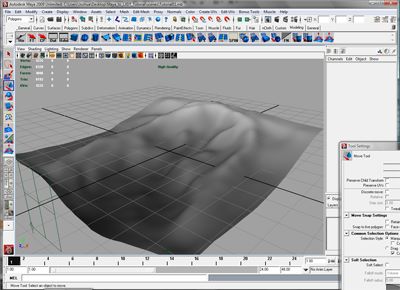
Now I applied a 1 level Smooth. Then built a Ramp Shader from Black to White, and project it from the side so that the low points of the terrain are black, and the high points are white (this takes some scaling and manual positioning of the projection node.
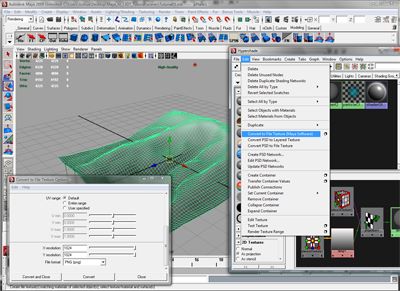
Now, the simple method of generating our height-field image. Simply go to the Hypershade. Under Edit, find Convert to File Texture (Maya Software), and select the Option Box (box next to the command). In the Option, set the image resolution and filetype. I recommend TIF16 as this works well with L3DT (and should avoid the '8-bit stepping' problem). Then select BOTH the object and the Shader node and hit Convert.
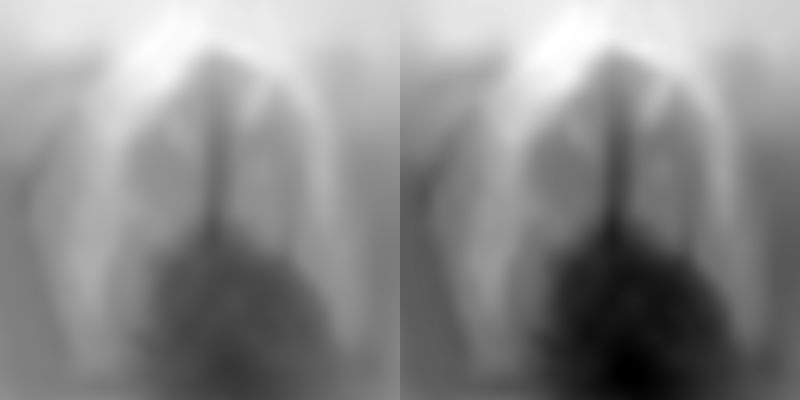
And here we have our results. I would recommend balancing the Levels in Photoshop (remember to work in 16-bit mode), in order to make the low areas true Black and the high areas true White. On the left we have the image straight out of Maya, on the right we have balanced the Levels in Photoshop.
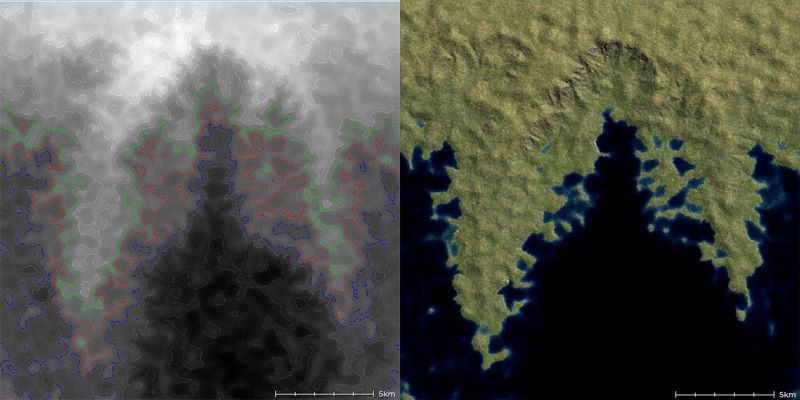
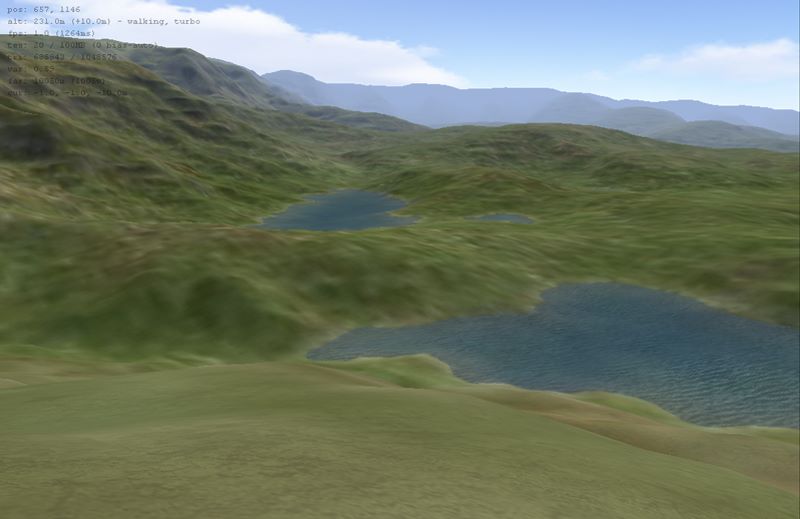
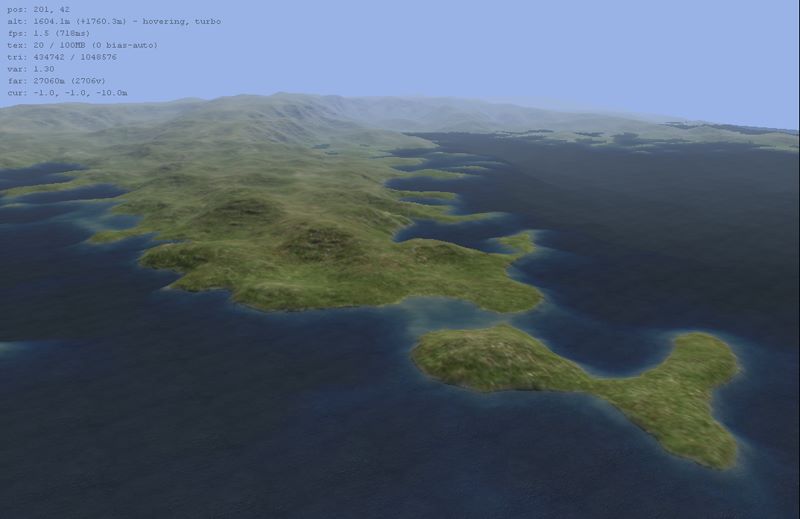
Here we have the terrain rendered in L3DT after importing it as a design map and running it through all of the calculations.
Now, there is another method that involves the "Transfer Maps" tool (found in the Rendering shelf -> Lighting/Shading menu) that is more versatile and may produce better results (i.e. avoid the 8-bit to 16-bit "stepping"). We will explore this in Part 2.
::EDIT:: I switched the recommended file-type to TIF16, as the other formats are setup for 8-bit resolution and I haven't found how to change that. You can convert to a 16-bit PNG in photoshop, or just run with TIF16.

No comments:
Post a Comment